To build your Keter shed, start by evaluating your storage needs and choosing the right model. Gather essential tools like a drill and measuring tape before preparing a level site clear of debris. Assemble the base using pressure-treated wood or concrete, then build the walls and add doors. Secure the shed with reliable locks and organize the interior with shelves and labeled bins for efficiency. There’s more on enhancing functionality and maintenance tips that’ll help you maximize your shed’s use.
Choosing the Right Keter Shed Model
Have you considered what you’ll be storing in your Keter shed? Understanding your storage needs is vital in choosing the right model. Keter shed styles range from compact options for smaller tools to larger models designed for bikes or garden equipment. Think about your current and future storage requirements—this’ll help guarantee you don’t run out of space.
Shed size considerations are equally important; measure your available outdoor area to find a size that fits without overwhelming your yard. Remember to account for door clearance and accessibility, too. By clearly defining what you need to store and how much space you have, you’ll make a more informed choice that offers you the freedom to organize your belongings efficiently.
Gathering Necessary Tools and Materials
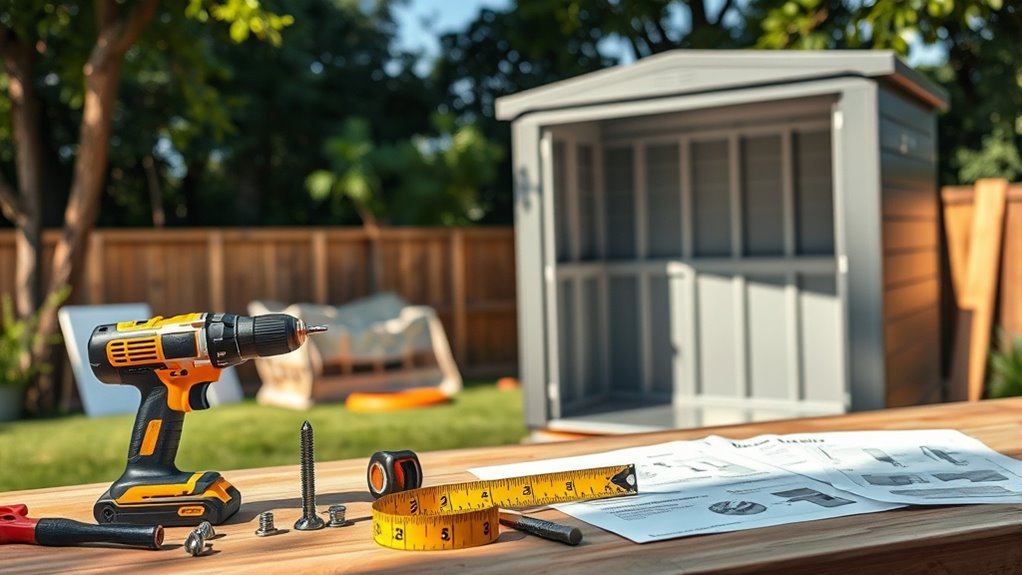
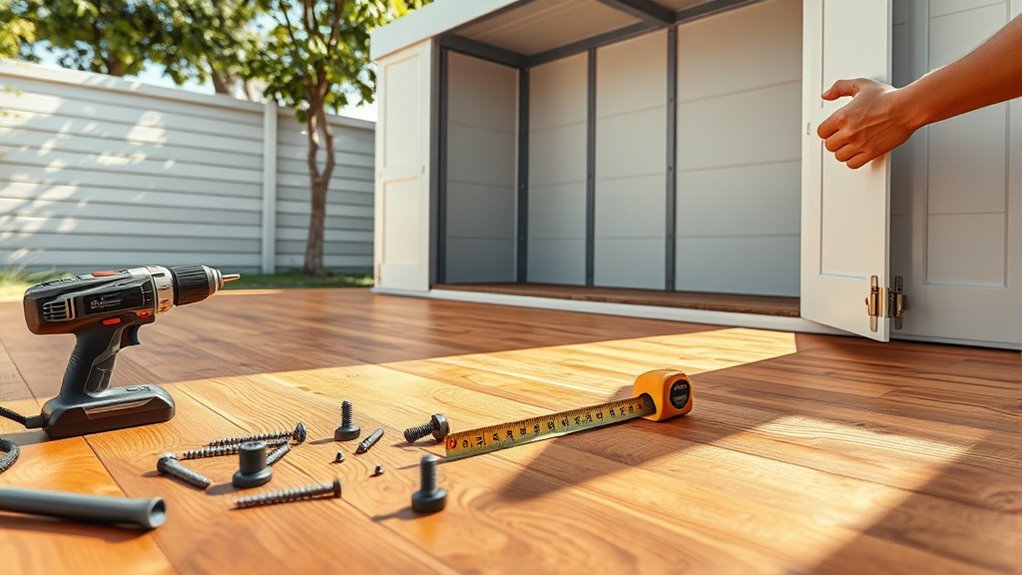
Before you start building your Keter shed, it’s important to gather the necessary tools and materials to guarantee a smooth assembly process. For tool types, you’ll need a drill, screwdriver, and level, along with measuring tape, utility knife, and safety gear. These tools will help ensure precise measurements and secure fittings.
Next, focus on material selection. Keter sheds typically come with pre-cut panels, but you may need additional screws or brackets for extra stability. Make sure you have a flat surface to work on, and consider using a tarp to protect your materials from moisture. With the right tools and materials in hand, you’re ready to begin your shed-building adventure, giving you the freedom to create your ideal outdoor space.
Preparing the Installation Site
Once you’ve gathered your tools and materials, the next step is to prepare the installation site for your Keter shed. Proper site preparation is essential for a stable and durable structure. Here’s how to get started:
- Choose a level area free from debris and overhanging branches.
- Clear the ground of grass, rocks, and any other obstructions.
- Perform ground leveling to guarantee a flat surface; this can involve using a shovel or rake.
- Mark the dimensions of your shed to visualize the space it will occupy.
- Check for drainage to prevent water pooling around your shed.
Assembling the Base
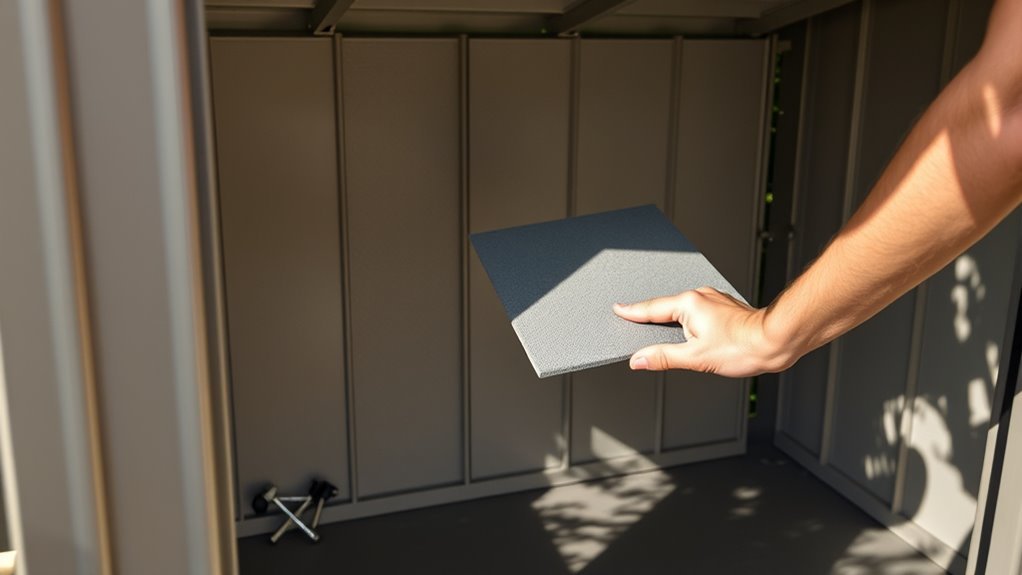
Assembling the base is a crucial step in guaranteeing your Keter shed stands strong and lasts for years. Start by choosing the right base materials—pressure-treated wood, concrete blocks, or gravel are all excellent options. Make certain to measure the dimensions of your shed to determine the appropriate size for your base.
Next, apply leveling techniques to guarantee a flat surface. Use a level tool to check all corners and adjust as necessary. If you’re using gravel, compact it firmly, or stack concrete blocks to achieve a solid foundation. Remember, a well-assembled base not only supports the shed but also prevents moisture damage and shifting over time. With a sturdy base in place, you’re ready for the next steps in your Keter shed assembly.
Building the Walls
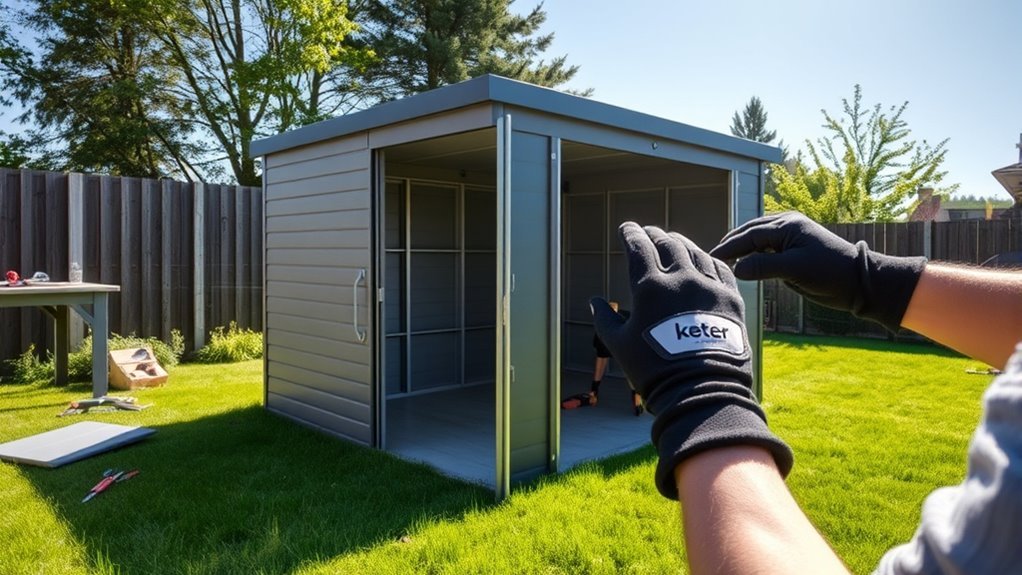
Building the walls of your Keter shed is an essential step that directly impacts its durability and functionality. Proper wall construction guarantees structural integrity, allowing your shed to withstand various weather conditions. Here’s what you’ll need to focus on during this phase:
Constructing the walls of your Keter shed is crucial for ensuring its strength and ability to endure the elements.
- Materials: Choose high-quality panels and framing for strength.
- Measurements: Measure twice to confirm all pieces fit perfectly.
- Fasteners: Use the right screws and brackets to secure panels tightly.
- Alignment: Verify walls are straight and level for stability.
- Insulation: Consider adding insulation if you plan to store sensitive items.
Installing the Roof
Installing the roof of your Keter shed is an essential step that guarantees protection for your stored items and adds to the overall durability of the structure. Start by selecting suitable roof materials, such as durable resin panels or metal sheets, which offer excellent weather resistance. Make sure to measure and cut your materials accurately for a snug fit.
Once your roof pieces are ready, employ effective weatherproofing techniques, like using silicone sealants at the joints to prevent leaks. Secure the roof firmly using screws or brackets, ensuring it’s well anchored to withstand strong winds. Finally, double-check your installation for any gaps or weak points. With a well-installed roof, your shed will be ready to protect your belongings from the elements.
Adding Doors and Windows
Once you’ve secured the roof, adding doors and windows is essential for both accessibility and ventilation in your Keter shed. You’ll want to evaluate various door types, such as sliding or hinged, to best fit your needs. When it comes to window placement, think about maximizing natural light while maintaining privacy. Here are some key points to keep in mind:
- Choose a door type that complements your shed’s design.
- Make sure doors open smoothly without obstruction.
- Position windows for ideal airflow and light.
- Use weather-resistant materials to enhance durability.
- Contemplate adding security features to protect your belongings.
Securing the Shed
To keep your Keter shed safe and stable, it’s essential to focus on securing it properly. Start by installing reliable locking mechanisms on the doors to prevent unauthorized access. Additionally, consider anchor solutions to enhance stability and protect against strong winds or shifting ground.
Locking Mechanisms Installation
While securing your Keter shed is essential for protecting your tools and belongings, choosing the right locking mechanism can greatly enhance its safety. Here are some lock types to take into account and installation tips for each:
- Padlocks: Simple and effective; make certain you choose a weather-resistant design.
- Hasp Locks: Great for wooden and metal doors; install a heavy-duty hasp for added security.
- Combination Locks: Keyless convenience; be sure you remember the combination.
- Deadbolts: Provide superior strength; install on the main door to deter intruders.
- Smart Locks: Offer tech-driven security; make sure you’ve got Wi-Fi access for remote control.
Follow these installation tips to make certain your locking mechanisms work effectively and keep your shed secure. Enjoy the freedom of knowing your belongings are protected!
Anchor Solutions for Stability
Securing your Keter shed against strong winds and shifting soil is essential for maintaining its integrity and longevity. To address stability concerns, you should consider various anchor types. The most common options include ground anchors, concrete blocks, and tie-downs. Ground anchors are driven into the soil and provide a solid grip, while concrete blocks can be placed inside your shed for added weight. Tie-downs can also be attached to your shed and anchored to the ground, ensuring it remains stable during storms. When selecting your anchor solution, take into account your local weather conditions and soil type. A properly anchored shed not only protects your belongings but also grants you the freedom to enjoy your outdoor space without worry.
Organizing the Interior
To maximize your Keter shed’s functionality, start by utilizing vertical space with shelves or hooks for tools and equipment. This not only keeps items off the floor but also makes them easier to access. Additionally, labeling storage containers helps you find what you need quickly, ensuring everything has its place.
Utilize Vertical Space
Maximizing vertical space in your Keter shed can transform it from a cluttered storage area into an organized haven. By utilizing the walls effectively, you can create a functional and efficient environment. Start with shelf installation to store items off the floor, and add wall hooks for quick access to frequently used tools. Consider these strategies:
- Install adjustable shelving to accommodate various item sizes.
- Use pegboards to hang tools and maximize wall usage.
- Add bins or baskets on shelves to group smaller items together.
- Create a hanging garden for gardening tools or supplies.
- Designate a vertical area for seasonal items, keeping them out of the way.
These steps will enhance your shed’s organization and keep your space feeling open and free.
Label Storage Containers
Labeling storage containers is a simple yet highly effective strategy to keep your Keter shed organized. Start by choosing appropriate label design options that match your containers and the items inside. You might prefer clear labels for visibility or colorful ones for a fun touch. Consider waterproof and tear-resistant materials to enhance label durability features, ensuring they last through various weather conditions.
Next, categorize your items—tools, gardening supplies, seasonal decorations—then assign each container a specific label. This will make it easier to find what you need quickly, allowing you to enjoy your time outdoors without the hassle of searching. With a bit of effort in labeling, you’ll create a shed that not only looks great but functions efficiently, giving you the freedom to explore.
Maintenance Tips for Your Keter Shed
Although maintaining your Keter shed might seem straightforward, regular upkeep is essential to confirm its longevity and functionality. Establishing a cleaning schedule and utilizing effective weatherproofing techniques will help protect your investment. Here are some key maintenance tips:
- Regularly clean the exterior to remove dirt and debris.
- Inspect for damage or wear, especially after severe weather.
- Reapply weatherproofing treatments annually to maintain protection.
- Organize the interior to prevent clutter and confirm easy access.
- Check seals and hinges for proper function and lubrication.
Frequently Asked Questions
Can I Paint My Keter Shed for Customization?
Yes, you can paint your Keter shed for customization! Just make sure to use paint types specifically designed for plastic surfaces, like acrylic or spray paint formulated for outdoor use. Before painting, clean the shed thoroughly and consider applying a primer for better adhesion. This way, you’ll have plenty of customization options to match your style or garden theme. Enjoy the freedom to create a shed that truly reflects your personality!
What Is the Warranty Period for Keter Sheds?
Keter sheds come with a warranty period of up to 10 years, a safety net for your investment. Just like a sturdy anchor in a storm, this warranty covers defects in material and workmanship, giving you peace of mind. To keep your shed in top shape, regular maintenance is key; it guarantees you enjoy its benefits for years. Always check the warranty details to understand what’s covered and how to claim if needed.
Are Keter Sheds Waterproof and Weather-Resistant?
Yes, Keter sheds are designed with waterproof materials and weather-resistant features. You’ll find that their construction helps keep your tools and equipment safe from rain, snow, and humidity. The durable resin used in these sheds doesn’t warp or rot, ensuring long-lasting protection. Plus, their design includes ventilation to prevent moisture buildup. With a Keter shed, you can enjoy peace of mind knowing your belongings are secure, no matter the weather conditions outside.
How Do I Relocate My Keter Shed?
Relocating your Keter shed is like moving a giant puzzle piece—it’s all about preparation. Start by clearing the area where you want to place it, ensuring a solid foundation. Use shed relocation tips like emptying the shed and securing any loose parts. You might need help lifting it, so grab a friend or two. Once it’s in position, check that it’s level and stable on its new foundation, and you’re all set!
Can Keter Sheds Be Connected to Electricity?
Yes, Keter sheds can be connected to electricity, but you need to prioritize shed safety. Before starting any electrical installation, check local regulations and consider hiring a licensed electrician. Make sure the shed is properly grounded and use outdoor-rated wiring. Installing lights or outlets can enhance your shed’s functionality, allowing you to use tools or work comfortably. Just remember to follow safety guidelines to prevent any hazards while enjoying your space.
References
- https://en.wikipedia.org/wiki/Shed
- https://www.extension.purdue.edu/extmedia/ID/ID-201-W.pdf
- https://www.extension.umn.edu/garden/yard-garden/landscaping/building-a-shed/
- https://www.consumerreports.org/cro/news/2015/07/how-to-build-a-storage-shed/index.htm
- https://www.nationalhomegardeningclub.com/articles/how-to-build-a-shed/
- https://www.woodworkingnetwork.com/news/woodworking-industry-news/how-build-storage-shed
- https://www.nrcs.usda.gov/wps/portal/nrcs/detail/national/home/?cid=nrcs143_014204