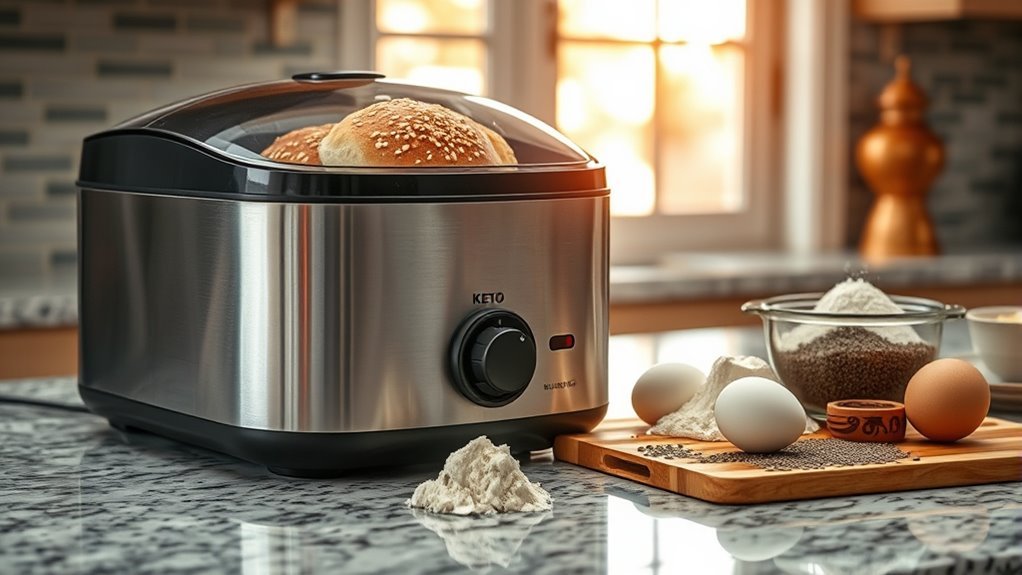
Yes, you can definitely make keto bread in a bread maker! It’s a convenient way to enjoy low-carb bread without the fuss of traditional baking. Just gather low-carb flours like almond or coconut, along with eggs and a low-carb sweetener for a delicious loaf. Follow your bread maker’s settings for the best results, and you’ll have fresh keto bread ready to enjoy. Stick around for tips on perfecting your keto bread experience!
Understanding Keto Bread Basics
Keto bread might seem like a paradox in the low-carb world, but it’s a delicious solution for those craving a bread-like experience without the carbs. You’ll find various keto bread types, each crafted to satisfy different tastes and textures. From fluffy almond flour loaves to hearty coconut flour options, the possibilities are endless. Low carb flours like almond, coconut, and psyllium husk are your best friends here, providing structure and moisture without the carb overload. These ingredients allow you to enjoy bread with a crispy crust and soft interior, all while maintaining your keto lifestyle. So, whether you’re making sandwiches or toast, keto bread opens up a world of culinary freedom that doesn’t compromise your dietary goals.
Choosing the Right Ingredients
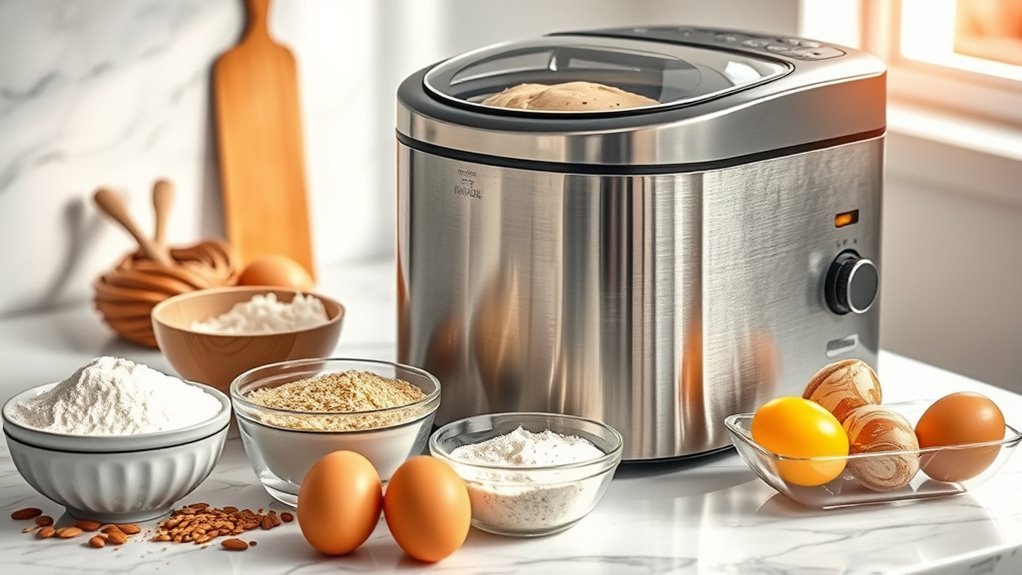
When you’re ready to whip up some delicious keto bread, choosing the right ingredients is essential for achieving that perfect texture and flavor. Start with keto flour options like almond, coconut, or even flaxseed meal, as they each bring unique characteristics to your bread. Almond flour offers a nutty taste, while coconut flour adds a subtle sweetness and absorbs moisture beautifully. Don’t forget to select low carb sweeteners, such as erythritol or stevia, to give your bread just the right hint of sweetness without spiking your blood sugar. Mixing in eggs or seeds can enhance the bread’s structure. With these ingredients, you’ll experience the freedom to enjoy keto bread that satisfies both your taste buds and dietary goals.
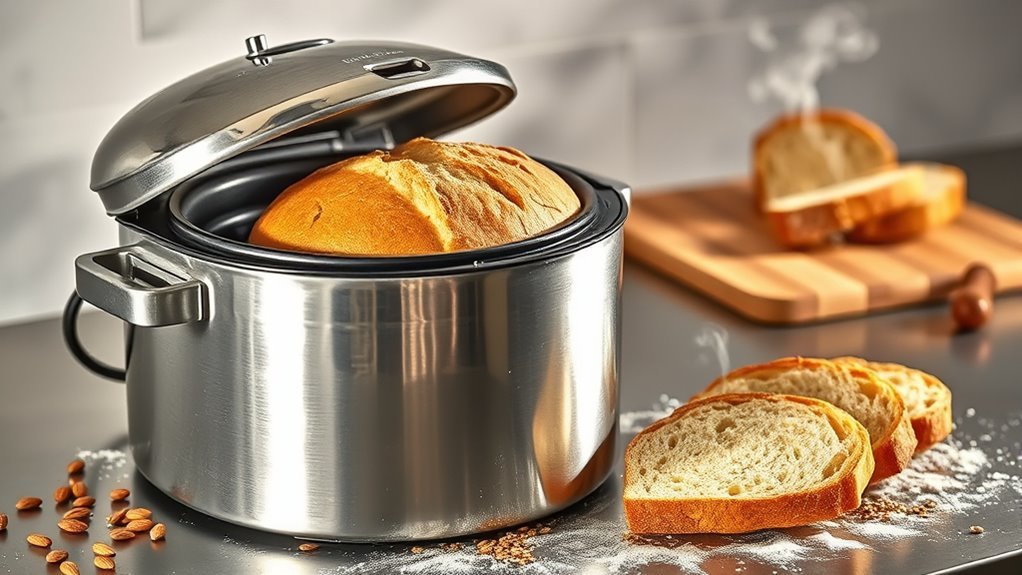
Setting Up Your Bread Maker
Setting up your bread maker can feel like a challenging task, but it’s actually quite straightforward once you get the hang of it. Start by placing your machine on a stable, dry surface—this’ll make it easier to access. Next, familiarize yourself with the bread maker settings; each setting caters to different types of bread and crust preferences. Make certain to add the ingredients in the right order, usually liquids first, followed by dry ingredients, and yeast last. Don’t forget about machine maintenance! Clean your bread maker regularly to guarantee peak performance and long-lasting use. With a bit of practice, you’ll be making delicious keto bread effortlessly, leaving you feeling empowered and free to explore new recipes.
Easy Keto Bread Recipes to Try
If you’re on a low-carb journey, discovering easy keto bread recipes can be a game-changer. Using flour alternatives like almond or coconut flour, you can whip up delicious bread that fits your lifestyle. Here are a couple of irresistible recipes to try in your bread maker:
| Recipe Name | Key Ingredients |
|---|---|
| Almond Flour Bread | Almond flour, eggs, baking powder |
| Coconut Flour Bread | Coconut flour, butter, low carb sweeteners |
Both recipes are simple, quick, and perfect for satisfying your cravings without derailing your diet. With low carb sweeteners, you can even add a touch of sweetness to your bread. Embrace the freedom of enjoying fresh, homemade keto bread!
Tips for Perfecting Your Keto Bread
Perfecting your keto bread is all about mastering the right techniques and ingredients. Start by experimenting with ingredient substitutions; almond flour and coconut flour can work wonders for texture improvement without sacrificing taste. Don’t shy away from adding flavor enhancement elements like herbs, spices, or even cheese to elevate your loaf. Pay close attention to the consistency of your batter; it should be thick yet pourable. If you find your bread too dense, consider adding a bit more moisture or using a low-carb sweetener for balance. Finally, be patient—let your bread cool completely before slicing. This helps maintain that perfect crumb and keeps the flavors intact. With these tips, you’ll be well on your way to keto bread perfection!
Storing and Reheating Keto Bread
Once you’ve baked your delicious keto bread, knowing how to store it properly is key to keeping it fresh and tasty. You’ll want to explore effective storage techniques that prevent it from drying out or getting moldy. Plus, when you’re ready to enjoy a slice, having the right reheating methods can make all the difference in bringing that homemade goodness back to life.
Proper Storage Techniques
Proper storage techniques are essential to keep your keto bread fresh and delicious. You’ll want a proper container that provides moisture control to prevent it from getting too dry or moldy. Here’s a quick reference table for effective storage:
| Storage Method | Container Type | Duration |
|---|---|---|
| Countertop | Airtight container | 3-5 days |
| Refrigerator | Ziplock bag or wrap | 1-2 weeks |
| Freezer | Freezer-safe bag | Up to 3 months |
Reheating Methods Explained
How can you enjoy your keto bread at its best after storing it? Reheating techniques can make all the difference! One of the best methods is to use your oven. Preheat it to 350°F (175°C), wrap your bread in foil, and heat for about 10-15 minutes. This keeps the crust crispy while warming the inside.
If you’re short on time, the microwave works too—just 15-30 seconds will do, but be cautious; it can dry out your bread. For an extra touch, try using a skillet. A few minutes on medium heat can revive that delightful texture and flavor. With these reheating techniques, your keto bread will taste as fresh and inviting as when it first came out of the bread maker!
Frequently Asked Questions
Can I Use Almond Flour Instead of Coconut Flour?
You might’ve heard about almond flour’s benefits, like its higher protein content and lower carbs, making it a fantastic option for many recipes. In contrast, coconut flour’s differences, such as its absorbent nature and distinct flavor, can greatly affect your dish. While you can use almond flour instead of coconut flour, be mindful of adjusting the liquid ingredients, since almond flour won’t soak up moisture like coconut flour does. Enjoy experimenting!
How Long Does Keto Bread Stay Fresh?
Keto bread typically has a shorter shelf life compared to traditional bread, lasting about 3 to 5 days at room temperature. To keep it fresh, store it in an airtight container or wrap it tightly in plastic wrap. If you want to extend its life, consider freezing slices; they can last for up to three months! Just remember to thaw a slice when you’re craving that delightful, low-carb goodness. Enjoy your freedom with fresh, homemade bread!
Can I Add Seeds to My Keto Bread?
Sure, you can add seeds to your keto bread! Seeds like chia, flax, and pumpkin not only enhance texture but also boost nutritional value. Chia seeds provide omega-3 fatty acids, while flaxseeds offer fiber and protein. Plus, they add a delightful crunch that makes your bread even more satisfying. Experimenting with different seed types can elevate your baking experience, giving you that freedom to customize flavors and health benefits to suit your taste. Enjoy!
Is Keto Bread Suitable for Freezing?
Yes, keto bread’s perfect for freezing, offering you both convenience and deliciousness. Imagine savoring fresh bread anytime, even when life gets busy. To freeze effectively, slice it first, using proper freezing techniques to maintain texture and taste. Wrap slices tightly in plastic wrap, then place them in an airtight container. When you’re ready to indulge, simply toast it straight from the freezer. With these storage tips, you’ll always have keto bread on hand!
What Is the Best Way to Slice Keto Bread?
When it comes to slicing keto bread, using the best slicing techniques can make all the difference. Start with a serrated knife; it’s ideal for cutting through the crust without squishing the soft interior. Let the bread cool completely to avoid crumbling. For even slices, angle the knife slightly and use a gentle sawing motion. This way, you’ll enjoy perfectly cut pieces that are ready for your favorite toppings, giving you the freedom to savor every bite!
1. Can you make keto bread in a bread maker?
Yes, you can make keto bread in a bread maker! Many bread makers have adjustable settings that allow for gluten-free or low-carb bread recipes, which are perfect for keto diets. However, it’s important to use the right ingredients, such as almond flour, coconut flour, or psyllium husk, and follow a recipe specifically designed for keto bread to achieve the best results.
2. What ingredients are best for keto bread in a bread maker?
The best ingredients for keto bread include almond flour, coconut flour, eggs, unsweetened almond milk, and various seeds or nut butters. You can also add baking powder, salt, and spices for flavor. It’s crucial to avoid traditional wheat flour and sugar to maintain the low-carb nature of keto bread. Always check your recipes for the right proportions and combinations.
3. How do I adapt my bread maker for keto recipes?
To adapt your bread maker for keto recipes, first ensure you select the gluten-free setting if available, as this setting is better suited for denser low-carb breads. Additionally, you may need to adjust the liquid ratio since keto flours can absorb more moisture than regular flour. Experimenting with different keto-friendly flours and ingredients will help you find the perfect balance for your machine.
4. What is the expected texture of keto bread made in a bread maker?
Keto bread made in a bread maker typically has a denser and more moist texture compared to traditional bread. This is due to the absence of gluten and the use of alternative flours like almond and coconut flour. While it may not rise as much, it can still be delicious and satisfying, especially when toasted or used for sandwiches. Experimenting with different recipes can help you achieve a texture you enjoy.
5. Can you store keto bread made in a bread maker?
Yes, you can store keto bread made in a bread maker! It’s best to let the bread cool completely before storing it. You can keep it at room temperature for a few days in an airtight container or freeze it for longer storage. If freezing, slice the bread beforehand for easy access. Just make sure to wrap it well to prevent freezer burn.
References
- https://www.ncbi.nlm.nih.gov/pmc/articles/PMC6470828/
- https://www.healthline.com/nutrition/keto-bread
- https://www.thekitchn.com/how-to-make-keto-bread-229918
- https://www.verywellfit.com/what-is-keto-bread-5190663
- https://www.mayoclinic.org/healthy-lifestyle/nutrition-and-healthy-eating/expert-answers/keto-diet/faq-20466366